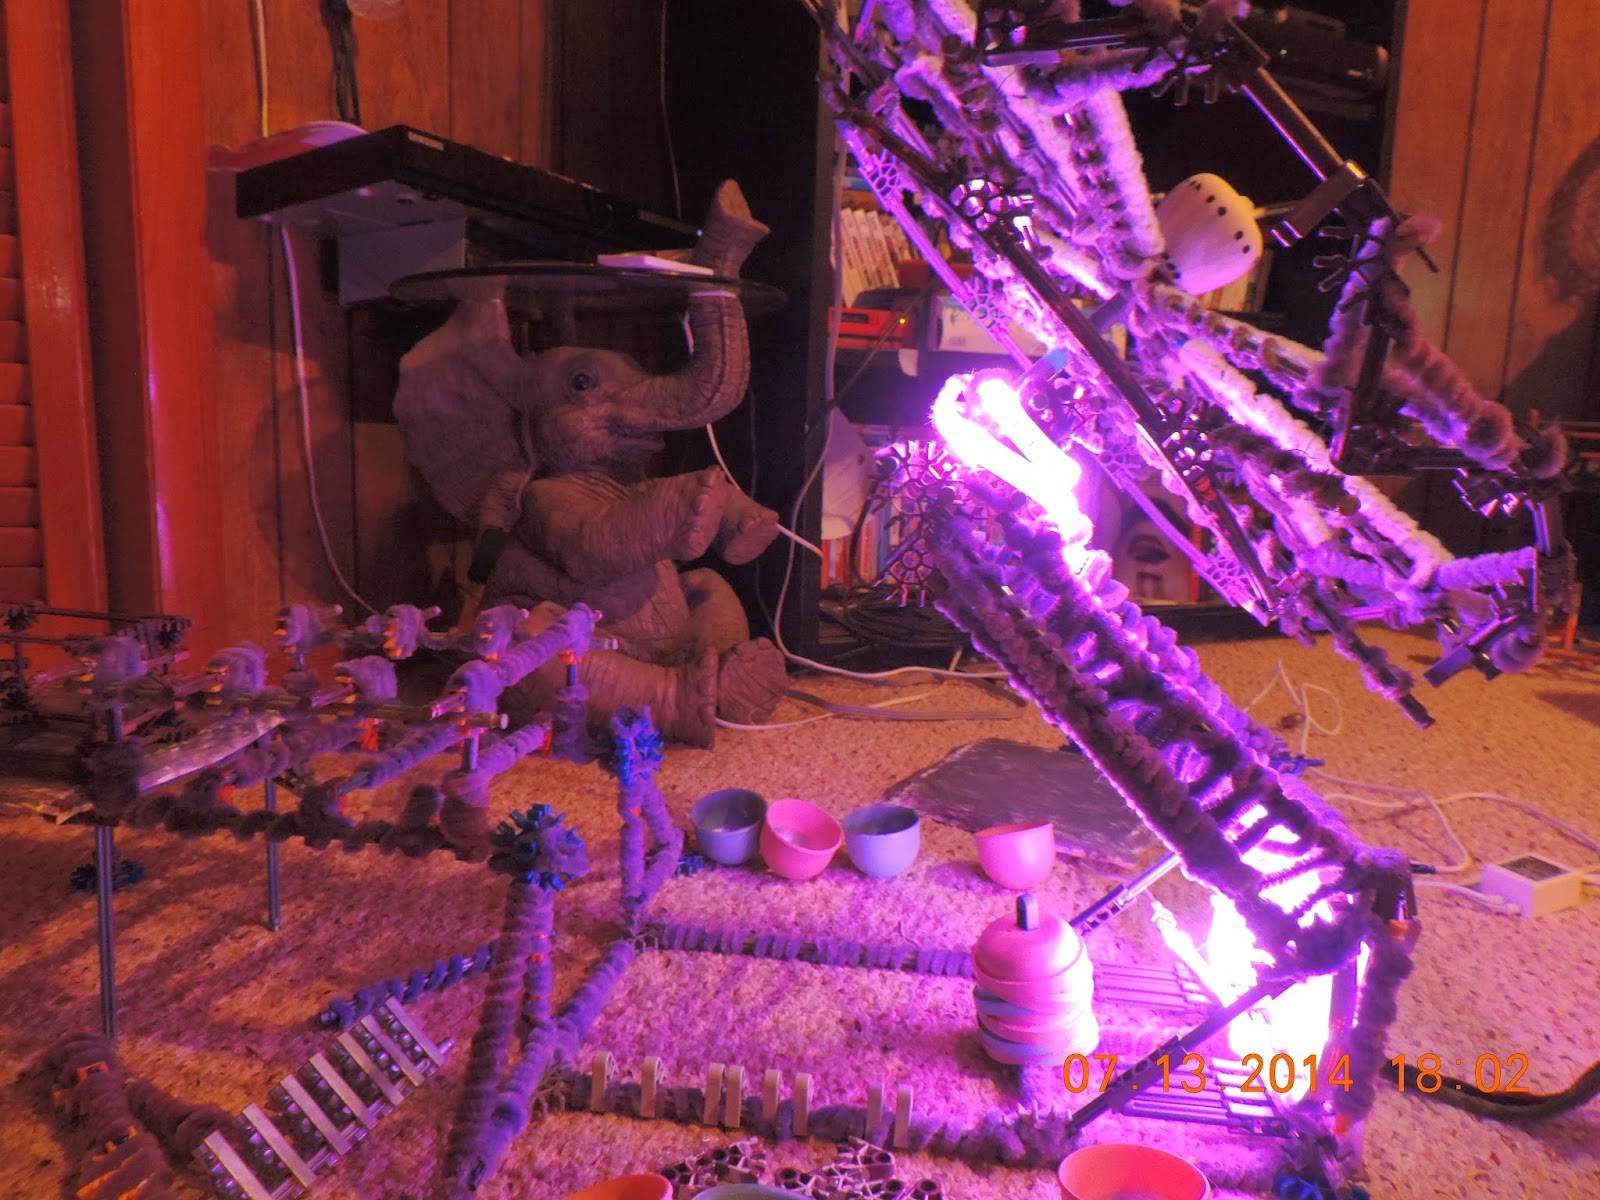
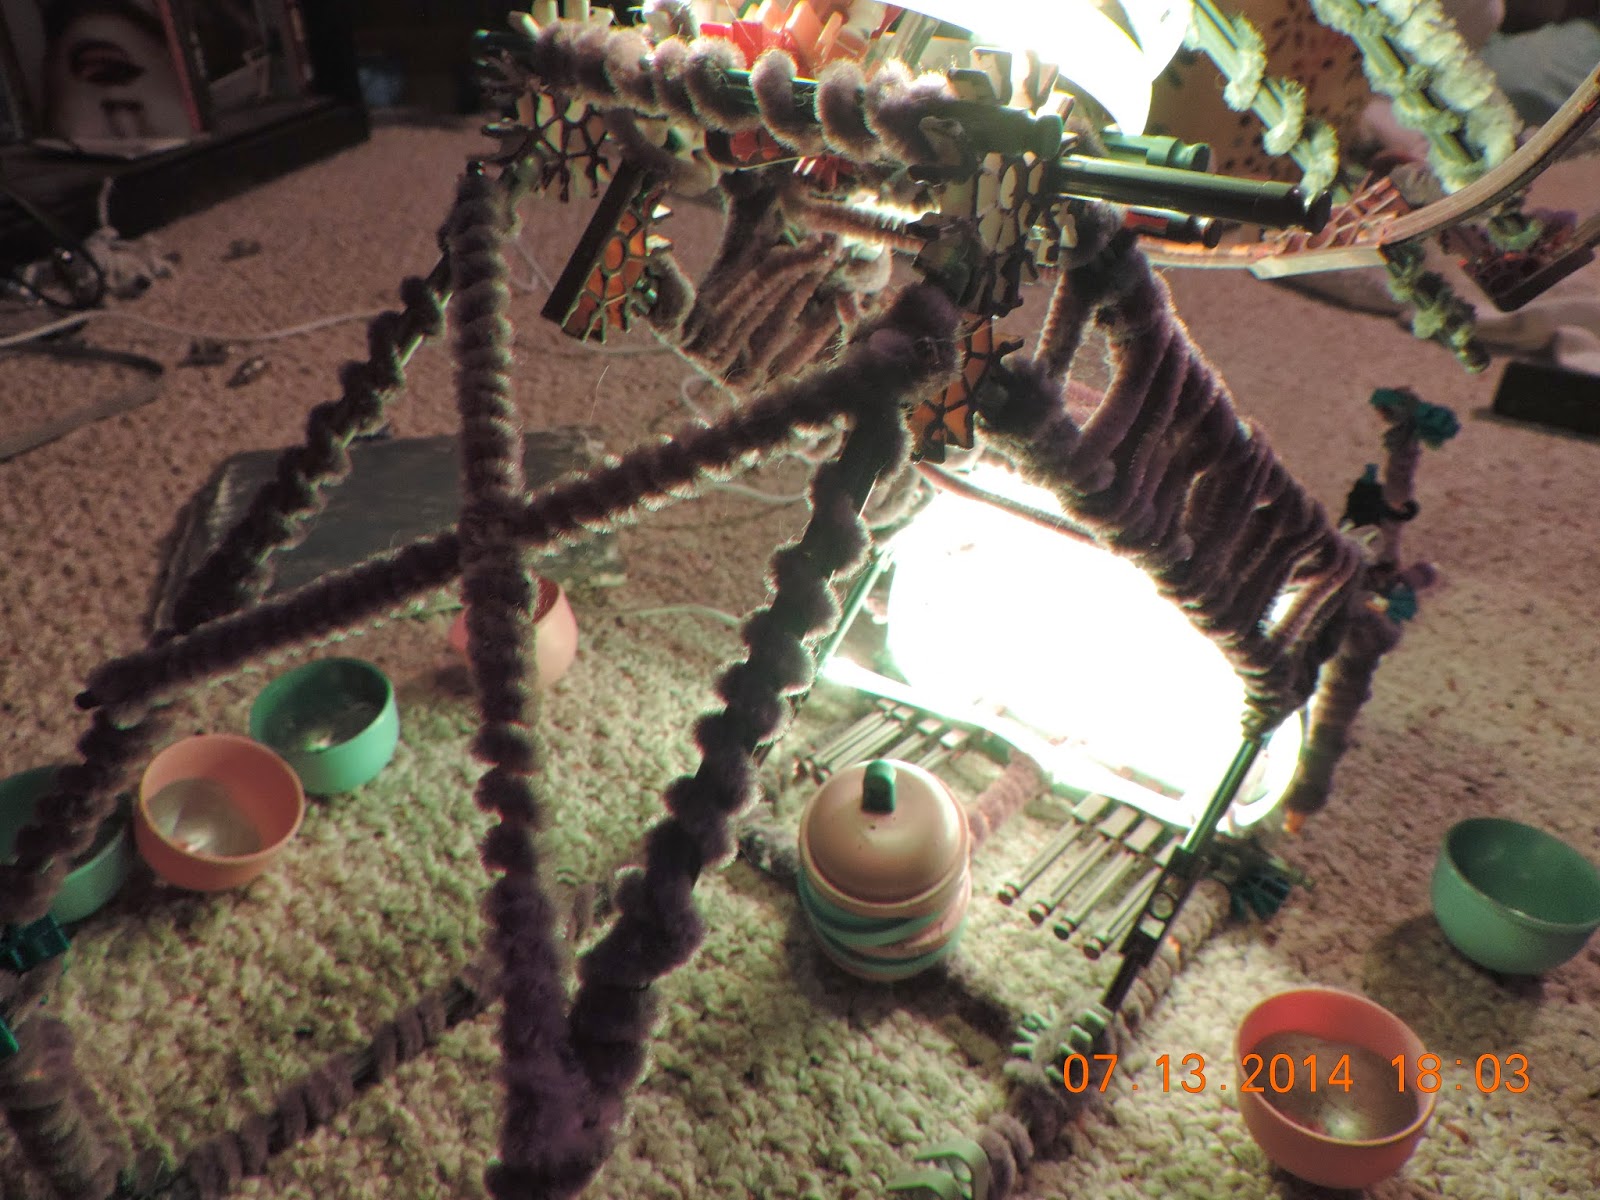
This article is LONG overdue, but I got the lights on and now the ride is ready for and article. This is one of the most complex ride I have, and is the oldest. It takes around an hour and 15 minutes to setup. The paratrooper. One of my favorite rides. The steps will be written under the pictures.
The ride is completely racked.
The power cord is attachedAn odd view of the lights wile racked. The lights remain off threw most of setup.
The work panels and supports are un racked
And attached
The one on the back
The inside compartment showing the tops, supports, and braces racked.
The side braces are attached
As well as the brace spacer.
Now a tub is un racked
And is set along side the ride
They are usually set in rows of 4 on each side
All the seats are un racked.
Now the control panel is un racked and sets in the corner until later.
The brace rack box is pulled out and set on the work platform.
Now each sweep is unfolded, sometimes 2 at a time.
4 sweeps out.
All 8 sweeps unfolded.
The sweep racks are detached and set under the back of the ride.
Now each rim iron is detached from the base
and attached to the wheel. The wheel is moved around until
all 8 rim irons are attached.
Then the camel backs are unfolded
Then the wheel is moved, and another is unfolded
all 8 camel backs are unfolded.
Then the cam back supports are attached, 3 at a time.
All 8 sets of braces are attached, and now the wheel is finished.
The front work plate is detached and set aside.
Now the control panel is attached. (its more for decoration then anything)
More brace feet and spacers are un racked.
All of the ground work is finished.
The lights are turned on. (the lights flash super fast between red green and blue)
Notice the unplugged strand of lights in the middle.
The rest of the lights are plugged in.
All lights are on and working.
Now the ride is raised upwards.
Fully raised.
These hold it up wile the braces are unfolded.
2 back braces are lowered and attached.
And the brace spacers are also unfolded forming an X
Now 2 more ground braces are lowered on both sides of the sign.
And the feet and spacers are attached.
The wheel is raised and is almost complete.
Now the closest camel back is moved down towards the sign.
First the top support is attached.(not done on real ride but necessary here)
The top is attached,
And held on by knex.
Now the tub support is put in place,
And the tub is attached, and held in place by knex. (sometimes instead of doing all 3 parts in order the top, support, tub, they will put on all the tops, and then all the supports, and then all the tubs. That adds around 15 minutes to the real setup and around 8 minutes to the knex ride setup)
Now one seat is complete,
The wheel is moved,
and the process is repeated.
They are done in pairs to keep it balanced.
4 seats.
As you can see the seats are in a pattern green pink
6 seats
7 seats
all 8 seats are now attached.
The ride is now completely up.
A side view of the ride.
The lights are off.
The real ride racked
The real ride up.
Soon I shall have a video of the lights on you tube, I will post when that happens.


No comments:
Post a Comment