Shenandoah shows summary

This blog is a display for my projects. I make models of carnival rides out of knex and pipe cleaners and a few other items. They rack (tear down) like the real rides. If you are viewing this site for the first time let me give you a tour. Below are posts. If your new you might of missed some, so scroll threw and back to see other projects. To the right, is a tab that says pages. Click that and it will take you to a list of pages, including carnival terminology, and youtube, as well as a few others. Enjoy and comment. P.S. if you comment, don't ask me for, or leave any personal info. I ask that you address me as Shenandoah shows, or idog0698. Thank you.
-Shenandoah shows.

Saturday, July 26, 2014

The skydiver

I am posting about a ride I have had since 7/3/14. I just did some work on it, and put color changing lights on it. So, for the first time ever, I present the skydiver.
                                                        up
                                                    lights
                                                  Racked
The trailer with the cars, braces, and spacers.
Also, the ride list page has been updated. The vertigo has been added, as well as the funnel force and rainbow, 2 I forgot to add.
I also have another brand new ride I will show later. The vertigo. I also plan to make the mulligan wheel. Stay tuned.

Wednesday, July 16, 2014

new videos

On top of the new page updates (see last post), check my youtube channel in around 30-45 minutes for the paratrooper light show, up and racked. Click the videos tab on the right (expo wheel with camera cartoon) to go straight to my channel.

updates on pages

The ride list page has a few changes, and the carnival terminology page now has 2 new terms, a rim iron and camel back, check out # 10 and 11 on the carnival terminology page for more.

Monday, July 14, 2014

The paratrooper

This article is LONG overdue, but I got the lights on and now the ride is ready for and article. This is one of the most complex ride I have, and is the oldest. It takes around an hour and 15 minutes to setup. The paratrooper. One of my favorite rides. The steps will be written under the pictures.

The ride is completely racked.
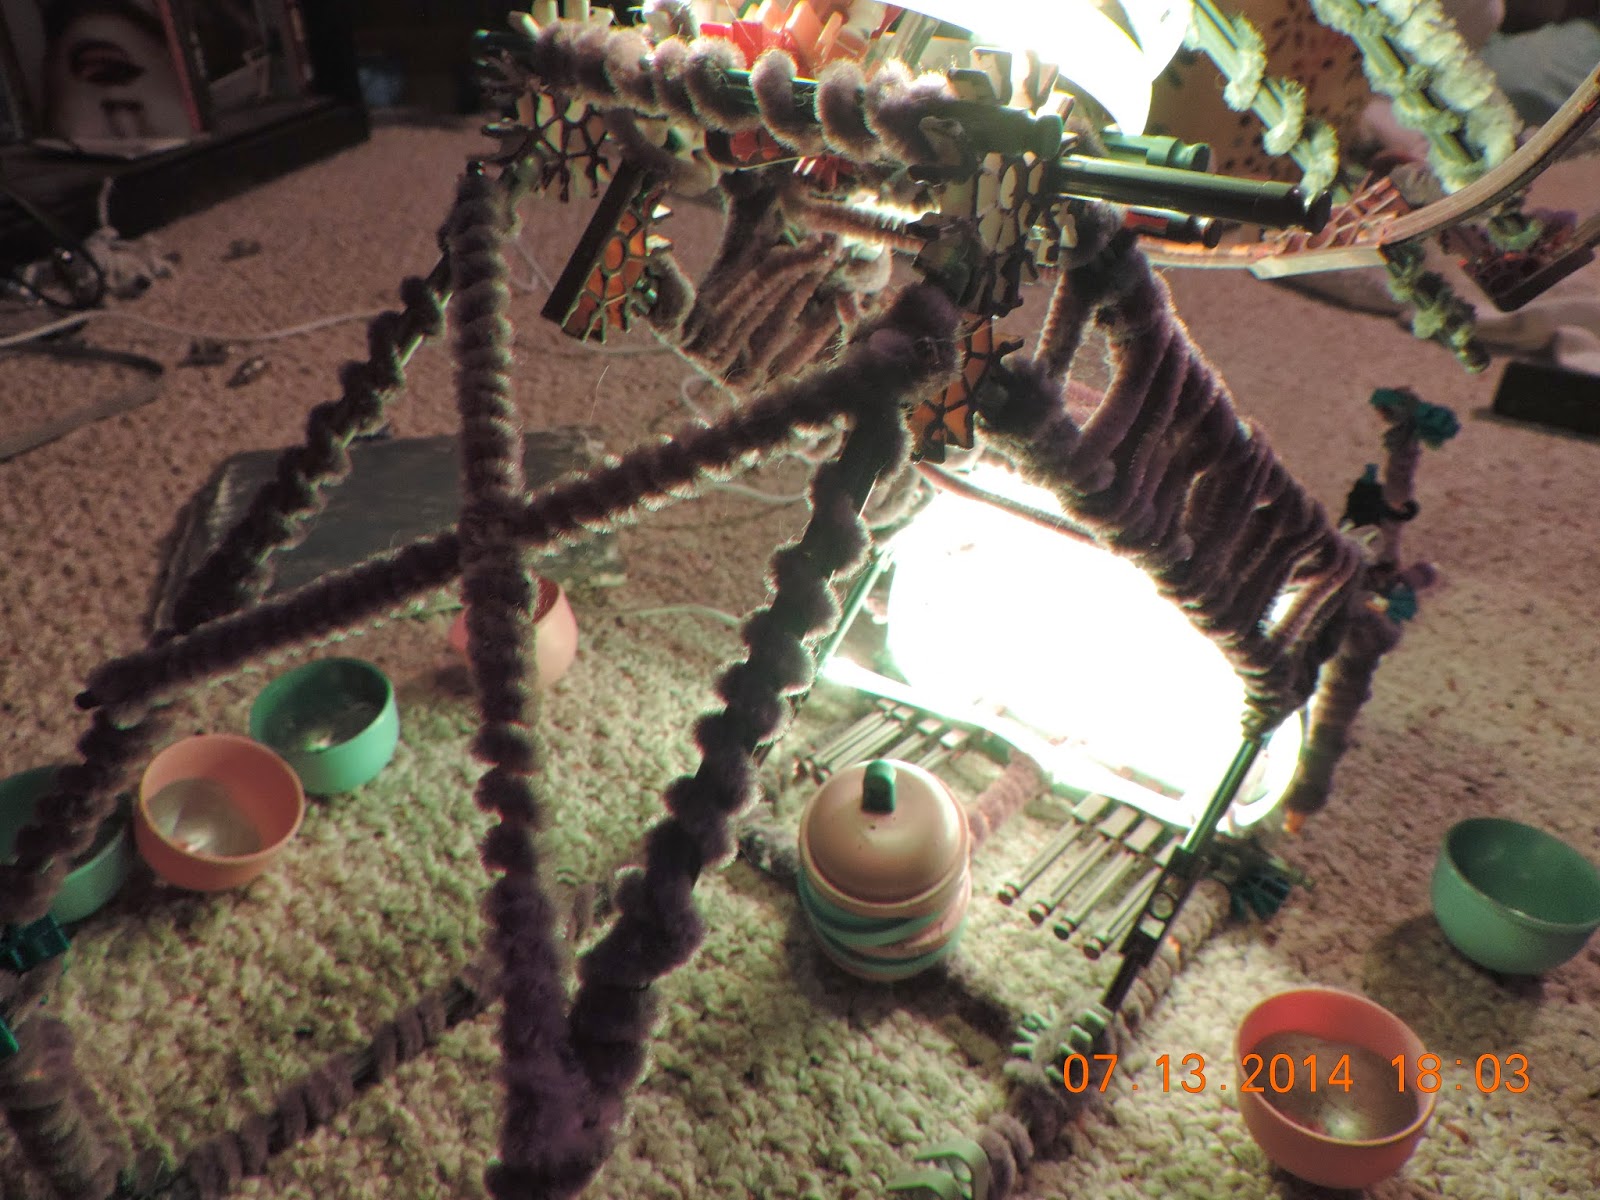
                                                                The power cord is attached
 An odd view of the lights wile racked. The lights remain off threw most of setup.
                                    The work panels and supports are un racked
                                                           And attached
                                                 The one on the back
 The inside compartment showing the tops, supports, and braces racked.
                          The side braces are attached
                                   As well as the brace spacer.
                                                   Now a tub is un racked
                                               And is set along side the ride
                                               They are usually set in rows of 4 on each side
                                             All the seats are un racked.
                             Now the control panel is un racked and sets in the corner until later.
                    The brace rack box is pulled out and set on the work platform.
                                                Now each sweep is unfolded, sometimes 2 at a time.
                                                             4 sweeps out.
                                                        All 8 sweeps unfolded.
              The sweep racks are detached and set under the back of the ride.
                                                   Now each rim iron is detached from the base
                                          and attached to the wheel. The wheel is moved around until
                                                          all 8 rim irons are attached.
                                                  Then the camel backs are unfolded
                                         Then the wheel is moved, and another is unfolded
                                                    all 8 camel backs are unfolded.
                                          Then the cam back supports are attached, 3 at a time.
                                          All 8 sets of braces are attached, and now the wheel is finished.
                                         The front work plate is detached and set aside.
                                      Now the control panel is attached. (its more for decoration then anything)
                                       More brace feet and spacers are un racked.
                                                         All of the ground work is finished.
 The lights are turned on. (the lights flash super fast between red green and blue)
                               Notice the unplugged strand of lights in the middle.
                                        The rest of the lights are plugged in.
                                                     All lights are on and working.
                                                    Now the ride is raised upwards.
                                                            Fully raised.
                                                  These hold it up wile the braces are unfolded.
                                                  2 back braces are lowered and attached.
                                            And the brace spacers are also unfolded forming an X
                                             Now 2 more ground braces are lowered on both sides of the sign.
                                              And the feet and spacers are attached.
                                              The wheel is raised and is almost complete.
                       Now the closest camel back is moved down towards the sign.
                                            First the top support is attached.(not done on real ride but necessary here)
                                                             The top is attached,
                                                       And held on by knex.
                                             Now the tub support is put in place,
   And the tub is attached, and held in place by knex. (sometimes instead of doing all 3 parts in order the top, support, tub, they will put on all the tops, and then all the supports, and then all the tubs. That adds around 15 minutes to the real setup and around 8 minutes to the knex ride setup)
                                                Now one seat is complete,
                                                 The wheel is moved,
                                                    and the process is repeated.
                                                     They are done in pairs to keep it balanced.
                                                              4 seats.
                                     As you can see the seats are in a pattern green pink
                                                                    6 seats
                                                                          7 seats
                                                       all 8 seats are now attached.
                                                   The ride is now completely up.
                                                            A side view of the ride.
                                                   The lights are off.
                                                        The real ride racked
The real ride up.
Soon I shall have a video of the lights on you tube, I will post when that happens.